Notes from our experience of running our system:
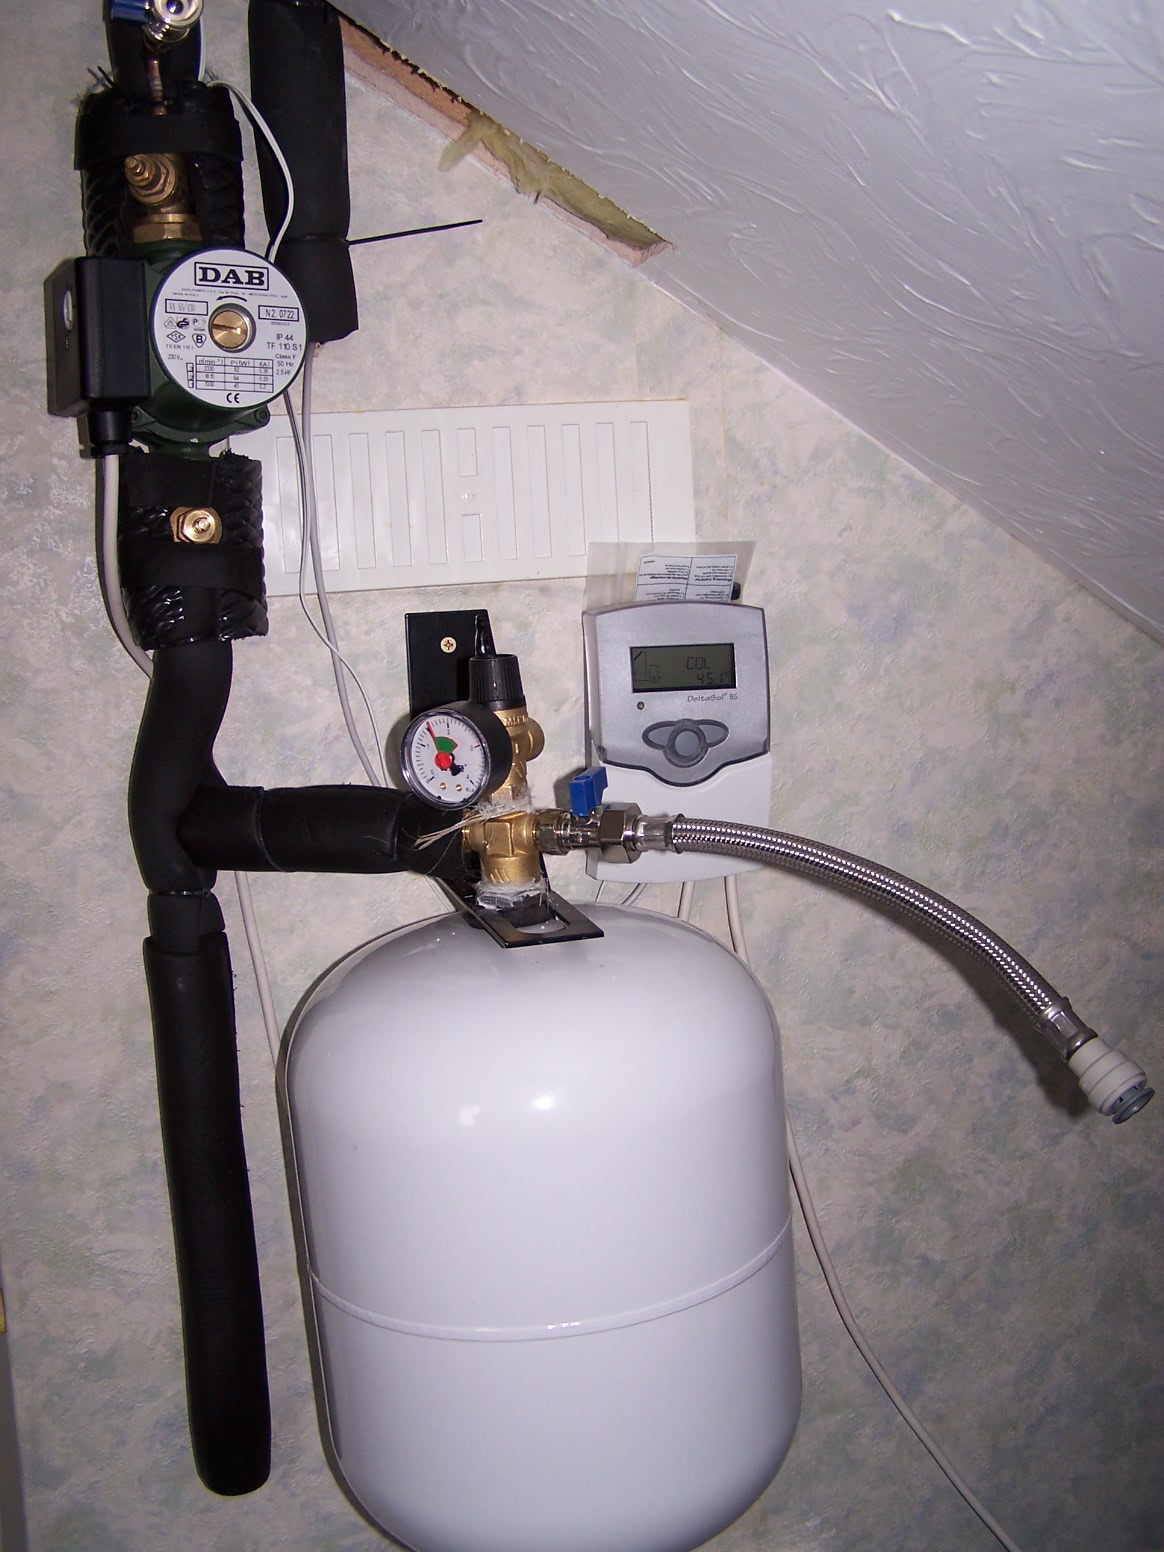
We have had to change our pressure vessel for a larger one (17 litres) which is intended for high temperature use with solar panels as the original unit (a standard plumbing model) failed due to not being able to stand the solar temperature. We also changed the glycol mixture (Furnox) for a fluid intended for solar installations - this was expensive at £100 for the quantity we needed but should last without degrading with the high solar temperatures.
When we installed this We had to notify Building control and Clacton District council needed us to apply for planning permission , planning permission is no longer required for panels like ours unless your home is listed or in a conservation area (using a vented hot water tank involves less regulation from the building control department. An older hot water tank will probably have thinner insulation and the wrong size heat exchanger coil inside for a wood burner and will need to be replaced).
We got a new hot water cylinder with two coils as part or our solar panel kit (for the wood stove and solar panel). I am keeping the old cylinder in the system to take hot water from the home made solar panel. This will preheat the water going into the main cylinder. We are thinking about having a heat store in our lean-to greenhouse to dump excess heat into. We hope this will keep the greenhouse warm at night. It is worth getting a solar controller with extra capacity for this kind of operation, ours is a Resol Deltasol BS/3. We got The largest hot water tank we could fit into the space available.
Installing tips
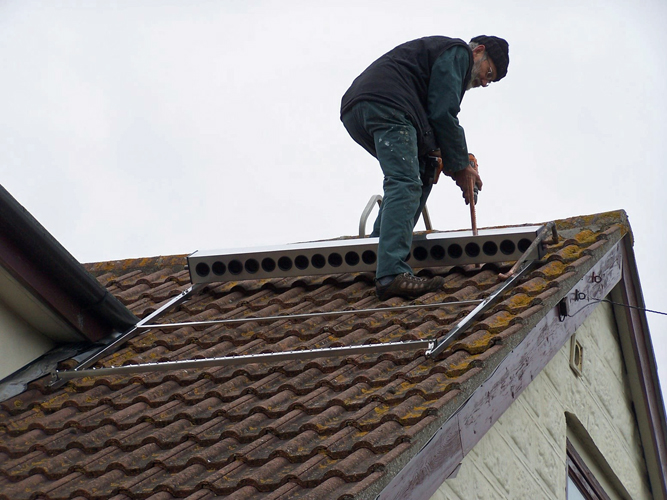
The tubes slide into the top manifold so that the copper heat transfer stubs fit into and make good contact with the copper manifold (inside the stainless box) which has the water circulating inside it (the heat transfer grease supplied helps). Note - no water circulates inside the tubes only a refrigerant gas which transfers the heat to the copper rod leading up to the heat transfer lugs. To make this assembly easier; first make sure that the tubes stay screened from the sun so that the copper lugs are not hot when you are sliding them in (they will expand with heat and be more difficult to insert). I also wiped some soapy water onto the rubber to lubricate the glass entering. The glass is very fragile and must be treated carefully (fit the lower rubber cups to the tubes before taking them up onto the roof and don't tighten the circlips too much onto the bottom of the tubes). The system has to be charged with antifreeze mixture (we are using 50% Furnox protector) this has to be pumped into the system. You can buy a garden sprayer type pump to do the job. We were lucky that our plumber had a spare pump which he gave us. Our DIY kit didn't include an automatic air vent to bleed air from the pipes. You will need one of these which needs to be installed as close as possible to the highest point in the system - usually in the loft space.
Manufacturers document on structure and installation of a vacuum tube solar panel as PDF Note: Pieter Hoekstra has pointed out that Evacuated Tube technology was developed by Professor Morrison of Sydney University around 1978 not as stated in this manufacturers PDF
..